Building a brand new home can be super exciting and fun! But it can also be stressful; making the selections and deciding what upgrades to pay for on top of your original quote, delayed move in dates, and more. I am here to share what I loved, what was tricky and what I learned in the process of building our new house!
Why We Chose to Build a House:
First, let me set the stage. It was early 2020 and we were renting a 2 bedroom condo in downtown Chicago. We had just welcomed our first baby boy. Then BOOM Covid hits the scene with multiple of the first cases in state (and country) identified in our small condo building. I’m talking news reporters on the street outside our building.
With no clue at what Covid really was at that time we were scared for the safety of our newborn and we were confined to a small area with practically no outdoor space other than a small balcony over looking a commuter train track. With circumstances being what they were we decided to leave the city to stay with family in Indiana, where they had a house and a yard. There we were able to take walks, enjoy open space and best of all be closer with family.
We loved being back in Indiana so much that we decided to make the move permanent. During this same time frame my husband applied and was hired onto an operation in Indianapolis. We explored both move in ready homes and the option of building one of our own. Ultimately we decided to begin building our house in a lovely Indianapolis suburb and the rest is history!
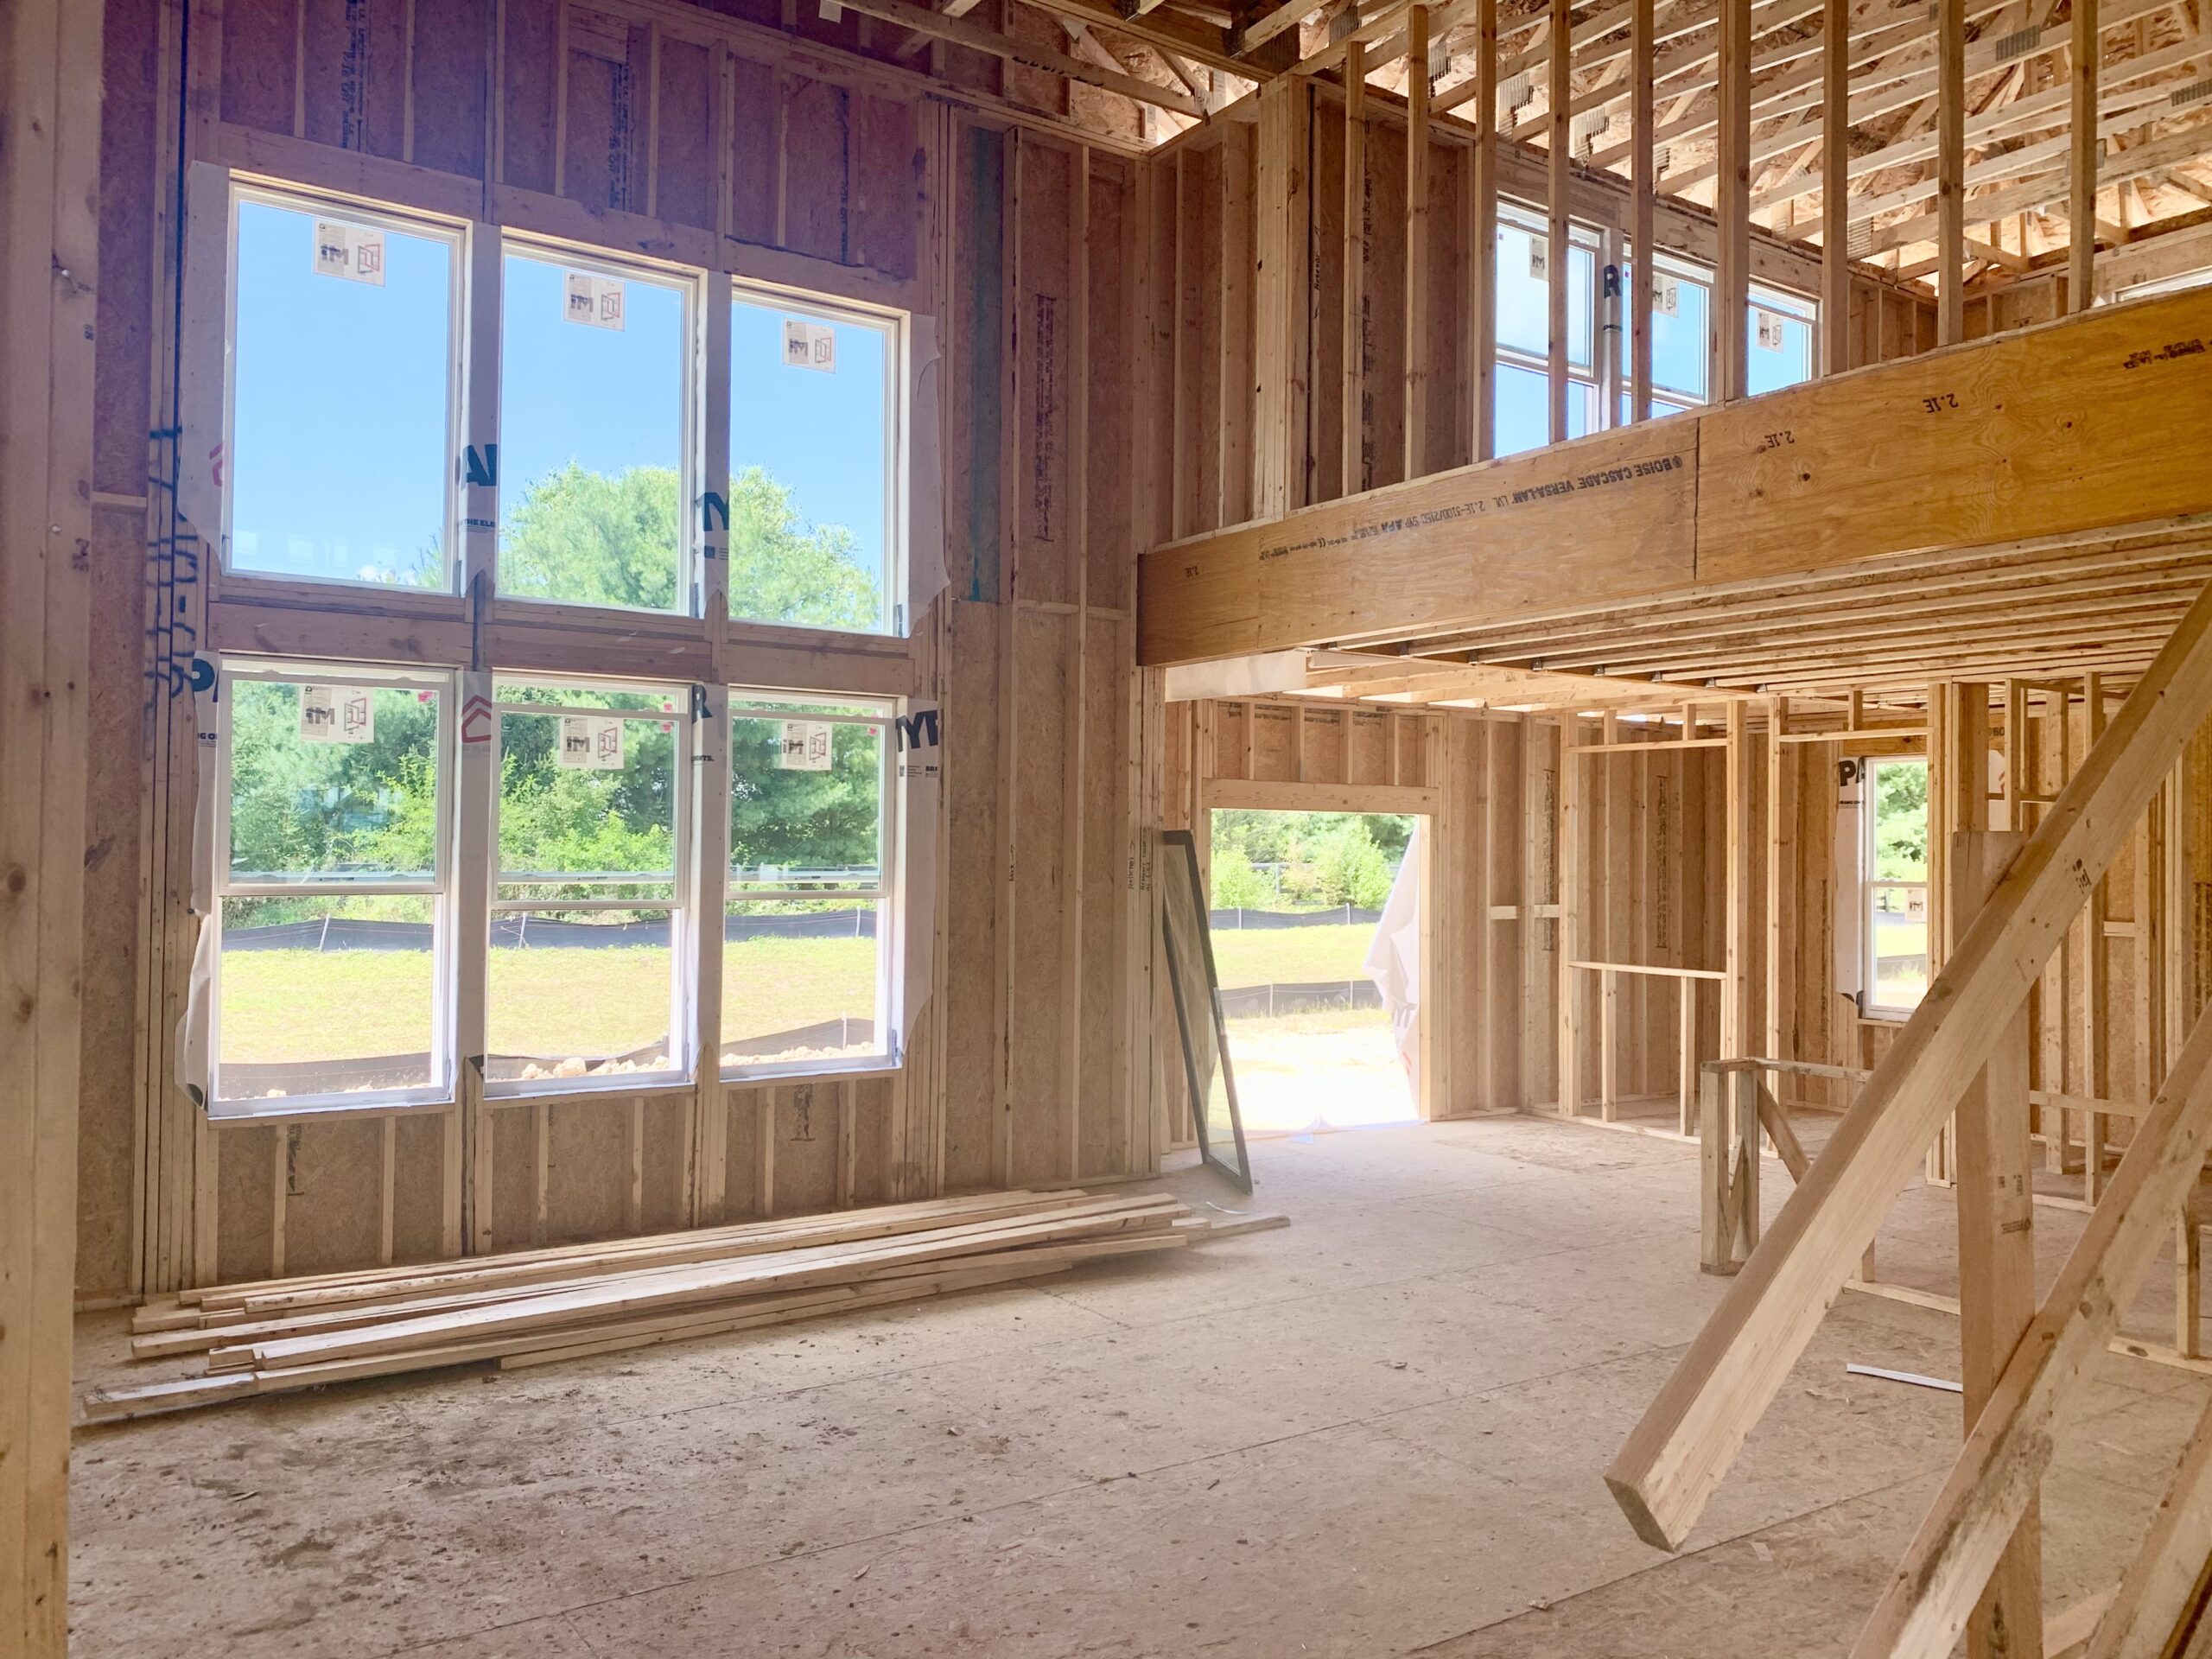
The Building Process:
Once you’ve picked a general area the next thing to consider is hiring a reputable and experienced builder. They can help translate your vision into reality while ensuring that the design is structurally sound and meets all building codes. It’s also important to establish a clear budget and to factor in potential unexpected costs that may arise during the construction process.
Once we decided on a location and a builder we then had to pick a specific lot, a base floor plan and a timeline of about 6 months was laid out for us. We put a portion of the money down with the rest to be paid at closing.
Choosing a floor plan:

There were five floor plan options available in our desired neighborhood and we quickly zeroed in on one with 5 bedrooms, 3 baths, 3 car garage, a basement, a circular first level flow, some flex space for a playroom and an office, and a 2-story open living room. The big open living room was what really caught our eye. We pictured kids coming down the stairs on Christmas mornings to a towering Christmas tree and we were sold.
Tips for picking a floor plan – Picture how your family will realistically use the space and list what you’ll want and need:
- How many bedrooms and baths do you want?
- Do you prefer open concepts or divided and distinct rooms?
- Do you have visitors often and need space for them?
- Can the house grow with your family?
- Do you love to cook and want to prioritize a grand kitchen?
- Do you need a bedroom on the first floor for mobility reasons?
- Is a home office or studio needed?
- What flexible areas might you need? For play, for work, etc.
- Do you prefer a laundry room on the main floor, upstairs or attached to a master bedroom?
Think about how you’d really function in the space and how you could grow in it over time.
With our builder many of the decisions regarding set up of the house were decided once you lock in a floor plan but you could opt for additional bathrooms and adjust the set up of those bathrooms, but the rest came pretty standard.
Selecting Materials:
Other choices made right away were things like flooring, countertops, cabinets, trim, doors and interior and exterior paint colors. This was the fun part but making all of those choices can be agonizing too!

Then on top of those base options that were included in our base price there were additional “upgrades” that could be made at a charge per item.
Examples of Upgrade Options:
- Lot premiums
- Elevations (Exterior look of house)
- Backsplashes
- Higher end flooring and countertops
- Side door addition on garage
- Sink styles
- Faucet styles
- Lighting
- Finishing the basement
- Additional window wells in the basement
- Wanes-coating
- Crown molding
- Hardware in kitchen and bathrooms
- Utility sinks
- Extra Cabinets in laundry room
- Taller front door
- . . . and about 100 more upsell items
Tips for making material selections:
Picking Exterior Color Scheme – If your builder has other houses in the area drive around and see how you like different materials / combinations at full scale. This helped me come to a decision that I still love today!
Prioritize Which Upgrades Matter Most to You – If you opt for every upgrade your house price could jump by thousands up to even hundreds of thousands. Come prepared to upgrade on what matters most to you and pass on the rest. Some things can be done later and for less.
Some upgrades we splurged on:
- Floor to ceiling stone fireplace (makes a statement and serves as a centerpiece)
- Wooden railing with metal spindles on the staircase (gives a higher end mixed material look)
- Added recessed lighting (more low profile than what I call ‘boob lights’ aka the half dome shaped lights)
- Single bowl kitchen sink (I LOVE this!)


Examples of simple upgrades we did ourselves post move in:
- Added this Moen Stainless Pull Down Faucet: https://amzn.to/42JC09n pictured in the photo above. It’s more elegant and easier to use than the one the builder provided and we have been super happy with it!
- In the upper three windows we added motorized blinds which were a major game changer! We found them on amazon and my husband installed them himself. Super easy and filter the perfect amount of light! Motorized Shades link here: https://amzn.to/3uCS0gT We got 3 shades in the cream color and couldn’t be happier with them!
One thing I wish we had upgraded, but didn’t:
Adding in plumbing in the unfinished basement for if we eventually want to add a bathroom down there. We chose not to opt for this and now that I am considering finishing the basement I am regretting this one.
Other items to put in your budget (these weren’t included with the price of our house)
- Appliances: We had to purchase our own refrigerator and washer + dryer
- Outdoor area: We had to completely build our backyard space post closing
- Landscaping in the backyard: They covered some trees and bushes in the front but nowhere else
- Additional sod grass: They provided sod in the front and seeded the back. Our grass has still never fully grown in even after additional yard treatments. Some of our neighbors added sod in their backyard and it made a big difference.
- Window coverings: Our house came with zero window coverings. Adding blinds, shades and curtains after move in cost us a few thousand more dollars.
- Furniture and decor if upsizing: So with any house change you may be wanting to refresh these things but for us going from 2 bedrooms to 5 left us very empty handed in this department. I’ll share more tips on how we filled out our house without purchasing all brand new items in a separate post!
The Final Product:
In the end we came in on schedule, slightly above our original budget, and we absolutely LOVE how our house turned out! On top of that we love the neighborhood and town. And now instead of a commuter train track we back up to a tree lined hill with horses grazing in the distance. We moved in just before Thanksgiving and there was much for which to be thankful!

Even with the building process complete we still had a pretty blank canvas to work with inside and have really enjoyed customizing and improving it over time! For more details on our interior and exterior home improvements keep following along with the blog!
Link disclosure: all links above are legitimate and supported by Amazon. Amazon associates can earn from qualifying purchases at no cost to the consumer. I only provide links for products that I find safe and useful.
–


One response to “Building a House: The Process & Helpful Tips”
[…] For more tips and inspiration on home improvement and interior design check out our recent post: Building a House: The Process & Helpful Tips […]